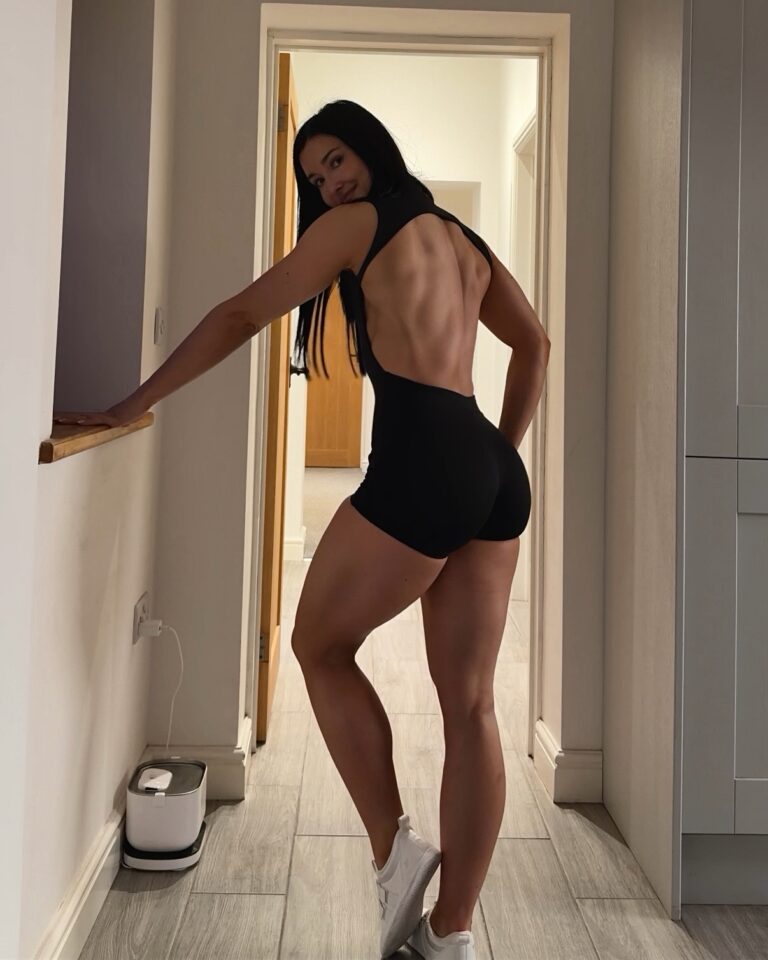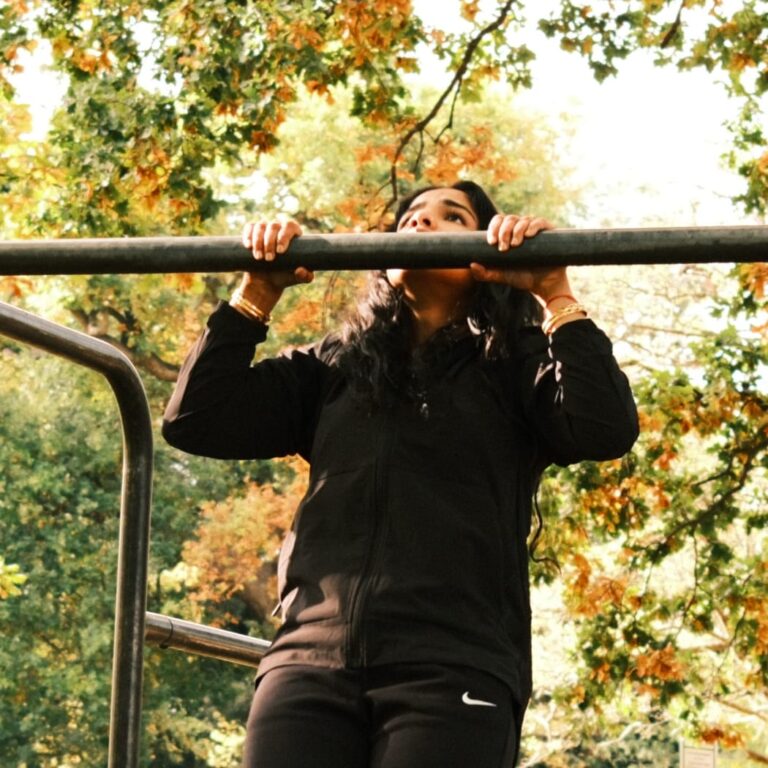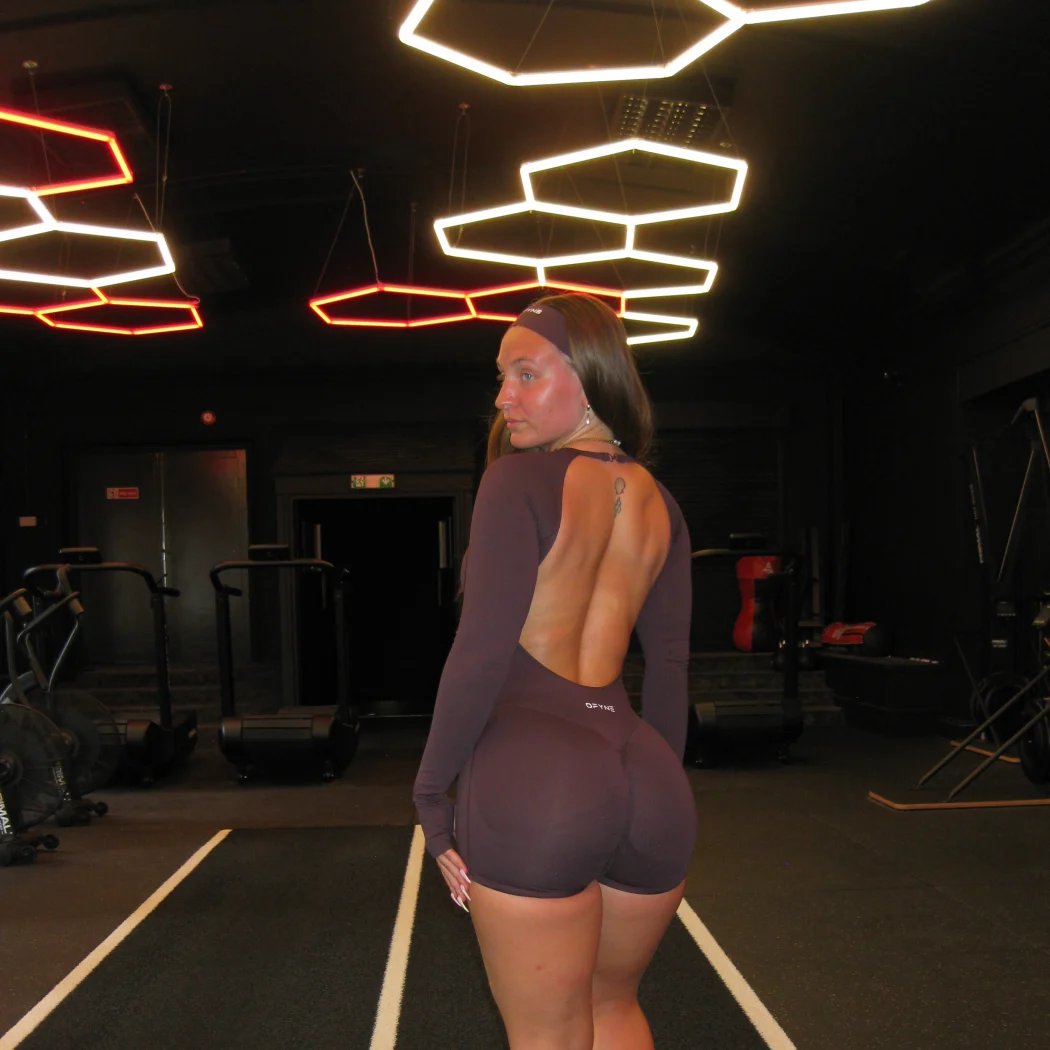
Most “glute workouts” online are a pile of random exercises with no plan behind them. You do a few kickbacks, a few squats, feel the burn, and six weeks later nothing has changed because nothing was ever tracked or progressed.
This challenge is different. It’s a simple 4-day program that trains your glutes and your back together, with a clear progression from week 1 to week 6. Nothing in it is fancy. You show up four days a week, write down your numbers, and try to beat them.
Why back and glutes together? Because they balance each other. Strong glutes give you the shape from the side and behind. A strong back, especially the lats and upper back, gives you posture, a defined waist-to-shoulder line, and a better foundation for every heavy lift. Train both and the whole physique looks more complete, and you stop feeling lopsided.
Who This Is For
I built this for someone at an intermediate-ish level with access to a gym. If you’ve been training for a few months and you know your way around a barbell, cable machine, and dumbbells, you’re ready.
If you’re brand new, you can still do it. Just start lighter, keep your reps in reserve on the generous side, and treat the first two weeks as a chance to learn the movements. If you train at home, there’s a section of swaps near the end.
The Weekly Schedule
Four training days, three days off.
| Day | Focus |
|---|---|
| Mon | Glutes (heavy hinge) |
| Tue | Back (pull) |
| Thu | Glutes (unilateral + volume) |
| Fri | Back + glute finisher |
Wednesday, Saturday, and Sunday are for rest, easy walks, and mobility work. Don’t skip them. Your muscles grow while you recover, not while you train.
The glute days are split on purpose. Monday is heavy and built around hinging movements like deadlifts and hip thrusts. Thursday is lighter, higher in reps, and works one leg at a time, which exposes imbalances and hits the muscle from different angles.
Day 1: Glutes (Heavy)
This is your big glute day of the week, so give it your best effort.
- Romanian deadlift: 4 x 8-10
- Barbell hip thrust: 4 x 8-12
- Bulgarian split squat: 3 x 10 each leg
- Cable kickback: 3 x 12-15 each leg
- Seated or standing abductions: 3 x 15-20
The Romanian deadlift comes first because it’s the most demanding lift and you want to be fresh for it. Push your hips back like you’re closing a car door with your backside, keep the bar close to your legs, and stop when you feel a deep stretch in your hamstrings. Going lower than that usually just means your back is rounding.
The hip thrust is the main glute builder. Keep your chin slightly tucked, ribs down, and squeeze hard at the top. If you’re arching your lower back to get the bar up, the weight is too heavy or your feet are too far away.
Bulgarian split squats are not fun. Nobody likes them. They work, so do them anyway. Lean your torso forward a little to put more load on the glute instead of the quad.
Day 2: Back
- Lat pulldown (or assisted pull-up): 4 x 8-12
- Chest-supported or barbell row: 4 x 8-10
- Single-arm dumbbell row: 3 x 10-12 each side
- Seated cable row: 3 x 12
- Face pull: 3 x 15
- Back extension (glute-focused, rounded upper back): 3 x 12-15
A good back day mixes vertical pulls (pulldowns) with horizontal pulls (rows). The pulldown builds width, and the rows build thickness through the middle of your back.
A common mistake is yanking the weight with your arms. Think about driving your elbows down and back instead, as if you’re putting them in your back pockets. If you can’t feel your back working, drop the weight and slow down.
The back extension at the end does double duty. With a rounded upper back and a slow, controlled squeeze at the top, it shifts the work from your lower back to your glutes. It’s an underrated finisher.
Face pulls are small but worth it. They work the rear delts and the muscles around your shoulder blades, which helps with posture and keeps your shoulders healthy if you do a lot of pressing elsewhere.
Day 3: Glutes (Unilateral + Volume)
- Walking lunge or reverse lunge: 3 x 10-12 each leg
- Single-leg hip thrust: 3 x 10-12 each leg
- Sumo or goblet squat: 3 x 12-15
- Banded lateral walks: 3 x 15 steps each way
- Glute bridge burnout: 2 x 20-25
Thursday is where you work on balance and endurance. Most people have a stronger side, and single-leg work shows you which one it is. Start each exercise with your weaker leg and match the reps on your stronger side, even if the stronger side could do more.
If walking lunges are awkward in a crowded gym, reverse lunges are easier on the knees and easier to control. Step back, drop straight down, and push through your front heel.
The burnout bridges at the end should feel like a lot of reps with a light load. You’re chasing a deep, pumped feeling here, not a personal record.
Day 4: Back + Glute Finisher
- Pull-up or neutral-grip pulldown: 4 x AMRAP minus 1-2 reps
- T-bar or machine row: 3 x 10-12
- Straight-arm pulldown: 3 x 12-15
- Rear delt fly: 3 x 15
- Hip thrust or glute bridge (lighter, pause 2 sec at the top): 3 x 15
- Cable pull-through: 3 x 12-15
“AMRAP minus 1-2 reps” means: find out how many pull-ups you could do to failure, then stop one or two reps short. So if you could max out at 8, do 6 or 7 per set. This keeps quality high without frying your grip and elbows for the rest of the session.
The straight-arm pulldown is a great way to feel your lats working without your biceps taking over. Keep your arms nearly straight and sweep the bar down to your thighs.
The last two exercises bring the glutes back into the picture. The paused hip thrust is lighter than Monday’s version, so it’s about control. Hold the top for a full two seconds. The cable pull-through teaches the hip hinge in a different way and gives your glutes one last squeeze before you head home.
The 6-Week Progression
Doing the same workout for six weeks won’t get you far. Here’s how the plan builds over time.
| Weeks | Goal | How |
|---|---|---|
| 1-2 | Foundation | Use the rep ranges above. Leave 2-3 reps in reserve. Focus on form and mind-muscle connection. |
| 3-4 | Build | Add weight whenever you hit the top of the rep range. Leave 1-2 reps in reserve. |
| 5 | Intensify | Add a set to the first two exercises each day. Slow the lowering phase to 3 seconds. |
| 6 | Peak | Go heavy on the main lifts (leave 0-1 reps in reserve on the last set), then do 5-10 minutes of easy walking and stretching to finish. |
“Reps in reserve” just means how many more good reps you could have done before failing. Two reps in reserve means you stopped when you had about two clean reps left in the tank.
Weeks 1 and 2 will feel easy, and that’s the point. You’re learning the movements and building a base. Resist the urge to go heavy too soon. Early soreness is usually from new exercises, not from a great workout.
In weeks 3 and 4, the real work starts. When you hit the top of a rep range, say 12 reps on a set that calls for 8-12, add a little weight next time. Even 5 pounds counts.
Week 5 adds volume and tempo. The extra set on your first two exercises each day gives you more total work, and the 3-second lowering phase makes every rep harder without needing heavier weight. Expect to be more tired this week.
Week 6 is your test. Go heavy on the main lifts, push the last set close to failure, and then cool down. Finishing with a few minutes of walking and stretching isn’t just a nice extra. It helps you bring your heart rate down and leave the gym feeling better than you walked in.
Tips That Make the Difference
Warm up properly: Spend 5-10 minutes on glute bridges, band walks, and a few light sets of your first lift. Glutes can be sleepy muscles, and a good warm-up helps you actually feel them working.
Track everything: Progressive overload is the engine of this whole plan. Write down your weights and reps, then try to beat them by a rep or a small amount of weight. A notes app is fine. If you don’t track it, you’re guessing.
Rest between sets: Take 60-90 seconds on isolation moves like kickbacks and abductions. Take 2-3 minutes on heavy compounds like deadlifts and hip thrusts. Rushing your rests on big lifts just means you lift less.
Eat enough protein: A good target is roughly 0.7 to 1 gram per pound of body weight each day. You can’t build muscle out of thin air, and it’s hard to do it on a very low-calorie diet. If you’re trying to add shape, you generally need to eat enough to support it.
Sleep: Aim for 7-9 hours. This is the least exciting advice in fitness and one of the most effective.
Don’t ignore pain Muscle burn and fatigue are normal. Sharp pain, especially in your lower back, is not. If something hurts in a bad way, stop, lower the weight, or swap the exercise. If it keeps happening, talk to a doctor or a qualified trainer.
Home Version Swaps
No gym? You can still run this challenge with some creativity.
- Romanian deadlifts and goblet squats can be done with dumbbells or a loaded backpack.
- Hip thrusts can be done with a dumbbell on your hips, a banded setup, or a backpack, with your upper back against a couch or sturdy bench.
- Resistance bands handle rows, pulldowns, and face pulls surprisingly well.
- A doorway pull-up bar or a suspension trainer covers most of your vertical and horizontal pulling.
You’ll probably need to use more reps, slower tempos, and single-leg versions to make up for lighter weight. That’s fine. Just keep making each week a little harder than the last.
What Results Should You Expect?
Be realistic. Six weeks is long enough to get stronger, improve your technique, and notice your glutes and back working better. You may see some visible changes too, especially if your nutrition and sleep are solid. It’s not long enough to completely transform your body, and anyone who promises that is selling something.
What you can expect is a solid foundation. If you keep going after week 6, you can run the program again with heavier weights, or swap some exercises and keep progressing.
Final Thoughts
You don’t need a complicated program or a new gimmick every week. Pick your days, learn the lifts, add a little weight when you can, and be patient. The people who get results aren’t the ones with the perfect plan. They’re the ones who keep showing up.
Print the plan or save it on your phone, take a quick “before” photo if you like, and start Monday. In six weeks you’ll be glad you did.